How to Assign Booth Spaces to Artists, Vendors, & Exhibitors in the Map Editor on Eventeny
Product Update April 2022
Locate Your Map
- Select the event you'd like to work on.
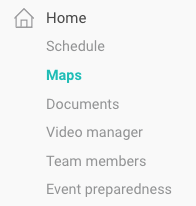
- Under "Home" select "Maps"
- Click "✎ Edit Details" on the map you'd like to assign booths to.

Assigning a Booth Space
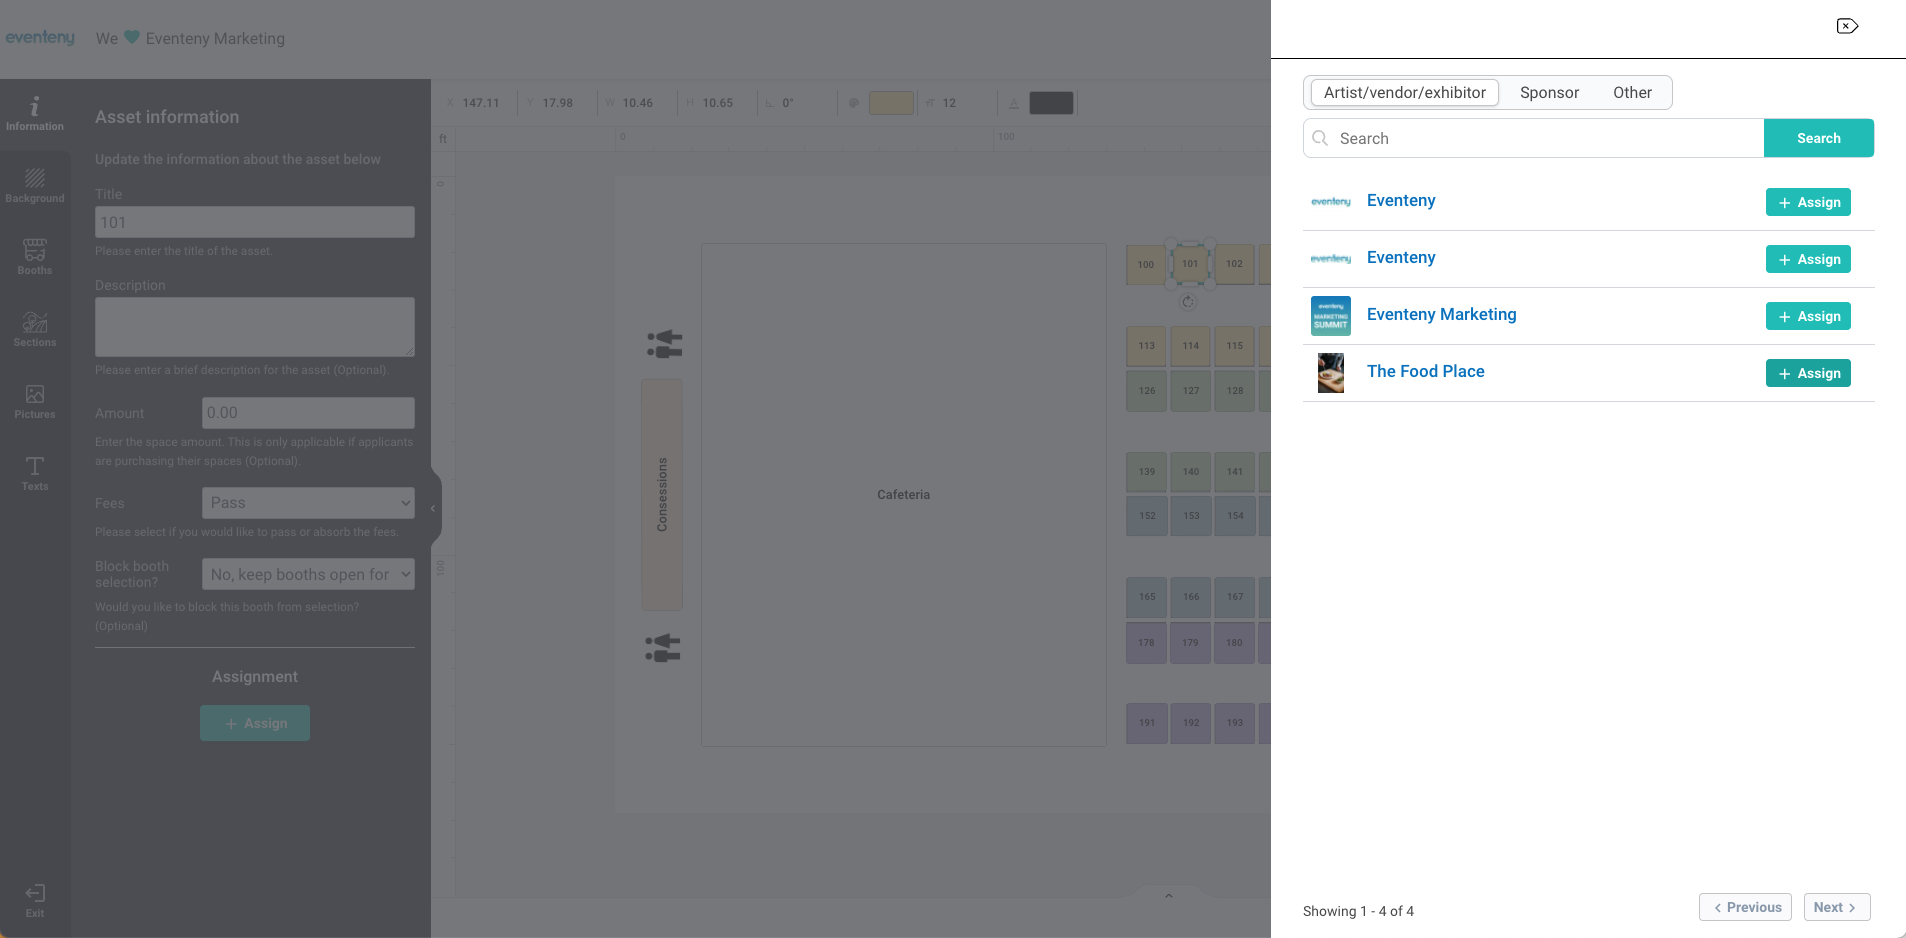
- Once in the map editor, select the booth you'd like to assign.
- On the left-hand side, click the "+ Assign" button.
- Select the applicant you'd like to assign from the list that appears on the right-hand side.
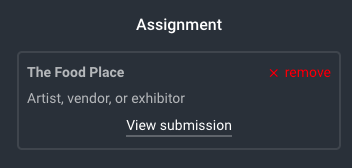
- Verify the assignment by re-clicking the booth space.

Additional Options
View Application Information
After assigning a booth space, you can view the applicant's submission easily by clicking "view submission." A new tab will open for you to make any changes as needed without having to navigate back to the applications manager.
Remove Booth Assignment
If you made a mistake or would like to reassign a booth space to another vendor, simply select the booth and click "x remove" on the left-hand side.
